How to combine TabLayout with ViewPager2 and NavGraph in Android
YouTube video:
I have published one video on YouTube explaining this process. You can watch it here:
Create three fragments:
Let's create three fragments to add to the NavGraph. These fragments will be added to the TabLayout and ViewPager.
Following are the fragments I am creating for this example:
- FirstFragment.kt, its xml file is fragment_first.xml
- SecondFragment.kt, its xml file is fragment_second.xml
- ThirdFragment.kt, its xml file is fragment_third.xml
All fragments are similar. Only the background color for each fragment is different.
For example, below is the code for FirstFragment.kt:
import android.os.Bundleimport androidx.fragment.app.Fragmentimport android.view.LayoutInflaterimport android.view.Viewimport android.view.ViewGroupimport com.nk.navigationgraphdrawer.R// TODO: Rename parameter arguments, choose names that match// the fragment initialization parameters, e.g. ARG_ITEM_NUMBERprivate const val ARG_PARAM1 = "param1"private const val ARG_PARAM2 = "param2"/*** A simple [Fragment] subclass.* Use the [FirstFragment.newInstance] factory method to* create an instance of this fragment.*/class FirstFragment : Fragment() {// TODO: Rename and change types of parametersprivate var param1: String? = nullprivate var param2: String? = nulloverride fun onCreate(savedInstanceState: Bundle?) {super.onCreate(savedInstanceState)arguments?.let {param1 = it.getString(ARG_PARAM1)param2 = it.getString(ARG_PARAM2)}}override fun onCreateView(inflater: LayoutInflater, container: ViewGroup?,savedInstanceState: Bundle?): View? {// Inflate the layout for this fragmentreturn inflater.inflate(R.layout.fragment_first, container, false)}companion object {/*** Use this factory method to create a new instance of* this fragment using the provided parameters.** @param param1 Parameter 1.* @param param2 Parameter 2.* @return A new instance of fragment FirstFragment.*/// TODO: Rename and change types and number of parameters@JvmStaticfun newInstance(param1: String, param2: String) =FirstFragment().apply {arguments = Bundle().apply {putString(ARG_PARAM1, param1)putString(ARG_PARAM2, param2)}}fun newInstance() =FirstFragment()}}
and fragment_first.xml file:
<?xml version="1.0" encoding="utf-8"?><FrameLayout xmlns:android="http://schemas.android.com/apk/res/android"xmlns:tools="http://schemas.android.com/tools"android:layout_width="match_parent"android:layout_height="match_parent"android:background="#2196F3"tools:context=".fragments.FirstFragment" />
You can create the other fragments similarly with different background color for each.
MainActivity and its xml file:
The start activity is MainActivity.kt and its xml file is activity_main.xml. Add one toolbar, tablayout and viewpager to the activity_main.xml:
<?xml version="1.0" encoding="utf-8"?><!-- Use DrawerLayout as root container for activity --><FrameLayout xmlns:android="http://schemas.android.com/apk/res/android"xmlns:app="http://schemas.android.com/apk/res-auto"android:layout_width="match_parent"android:layout_height="match_parent"android:fitsSystemWindows="true"><LinearLayoutandroid:layout_width="match_parent"android:layout_height="match_parent"android:orientation="vertical"><androidx.appcompat.widget.Toolbarandroid:id="@+id/toolbar"android:layout_width="match_parent"android:layout_height="?attr/actionBarSize"android:background="?attr/colorPrimary"android:theme="@style/ThemeOverlay.AppCompat.Dark.ActionBar" /><com.google.android.material.tabs.TabLayoutandroid:id="@+id/tabLayout"android:layout_width="match_parent"android:layout_height="wrap_content" /><androidx.viewpager2.widget.ViewPager2android:id="@+id/viewPager"android:layout_width="match_parent"android:layout_height="match_parent" /></LinearLayout></FrameLayout>
Now, inside MainActivity.kt, we can do all bindings:
import android.os.Bundleimport androidx.appcompat.app.AppCompatActivityimport androidx.appcompat.widget.Toolbarimport androidx.fragment.app.Fragmentimport androidx.navigation.NavControllerimport androidx.viewpager2.adapter.FragmentStateAdapterimport androidx.viewpager2.widget.ViewPager2import com.google.android.material.tabs.TabLayoutimport com.google.android.material.tabs.TabLayoutMediatorimport com.nk.navigationgraphdrawer.fragments.FirstFragmentimport com.nk.navigationgraphdrawer.fragments.SecondFragmentimport com.nk.navigationgraphdrawer.fragments.ThirdFragmentclass MainActivity : AppCompatActivity() {lateinit var navController: NavControllerlateinit var toolbar: Toolbaroverride fun onCreate(savedInstanceState: Bundle?) {super.onCreate(savedInstanceState)setContentView(R.layout.activity_main)toolbar = findViewById(R.id.toolbar)val tabLayout = findViewById<TabLayout>(R.id.tabLayout)val viewPager = findViewById<ViewPager2>(R.id.viewPager)viewPager.adapter = FragmentAdapter(this)TabLayoutMediator(tabLayout, viewPager){tab, position ->tab.text = "Tab ${position}"}.attach()}override fun onSupportNavigateUp(): Boolean {return navController.navigateUp() || super.onSupportNavigateUp()}class FragmentAdapter(activity: AppCompatActivity) : FragmentStateAdapter(activity){override fun getItemCount(): Int {return 3}override fun createFragment(position: Int): Fragment {return when(position){0 -> FirstFragment.newInstance()1 -> SecondFragment.newInstance()2 -> ThirdFragment.newInstance()else -> FirstFragment.newInstance()}}}}
Here,
- We have created one adapter FragmentAdapter which is responsible to load the fragment based on the tab position.
- TabLayoutMediator defines the text to show in the tab based on the current position.
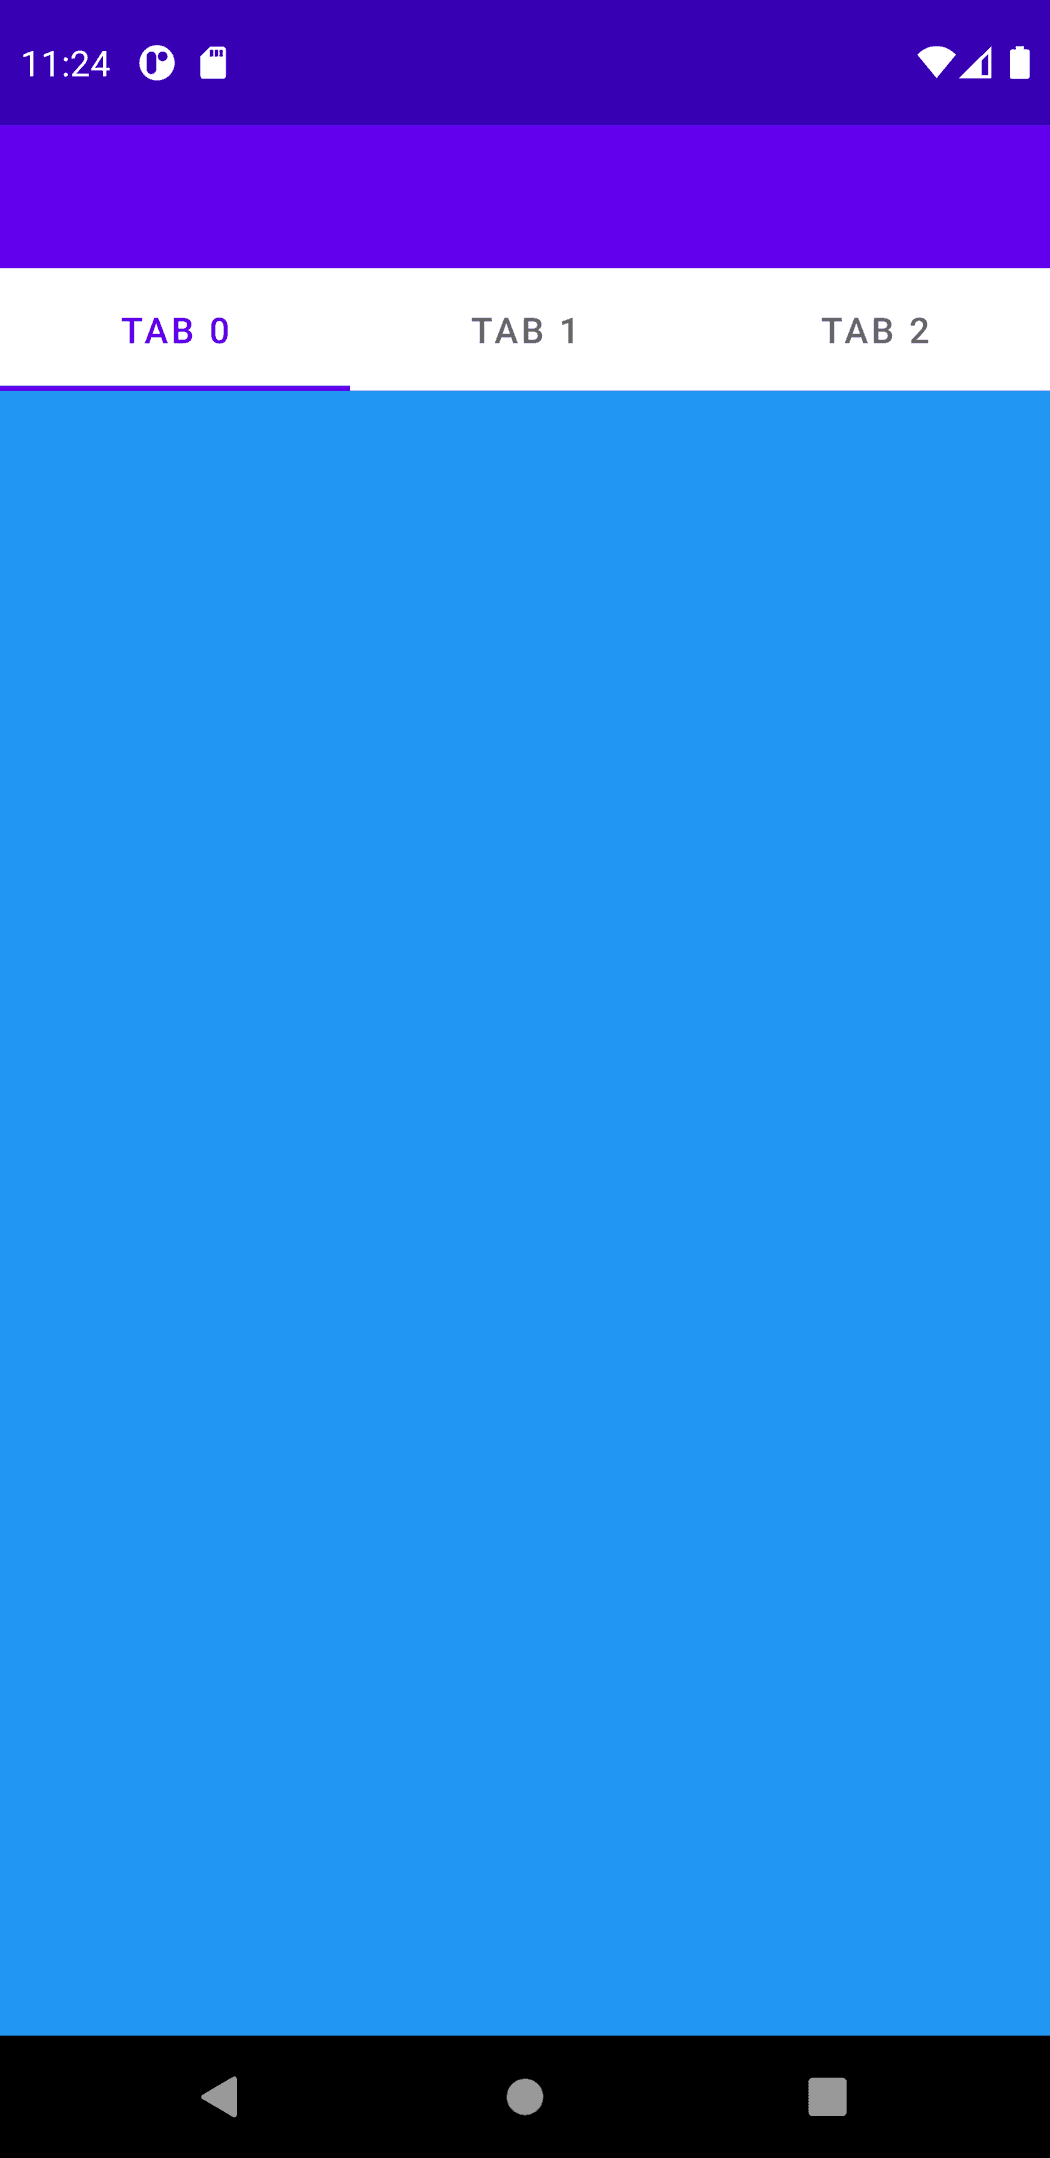
If you run this program, it will be as like below:

Source code (branch: tabbar_viewpager2)
