How to use Android Studio with Github or Git
How to use Android Studio with Github:
Android Studio provides inbuilt Git support. It also provides one terminal. Using the terminal, we can write git commands. Or, we can use its inbuilt git GUI to do git operations like commit, pull, push, revert etc.
In this post, I will show you how to use git in Android Studio.
YouTube video:
I have published one video on YouTube which will show you these in step by step. If you love it, don't forget to like and subscribe to my channel :)
Git with terminal:
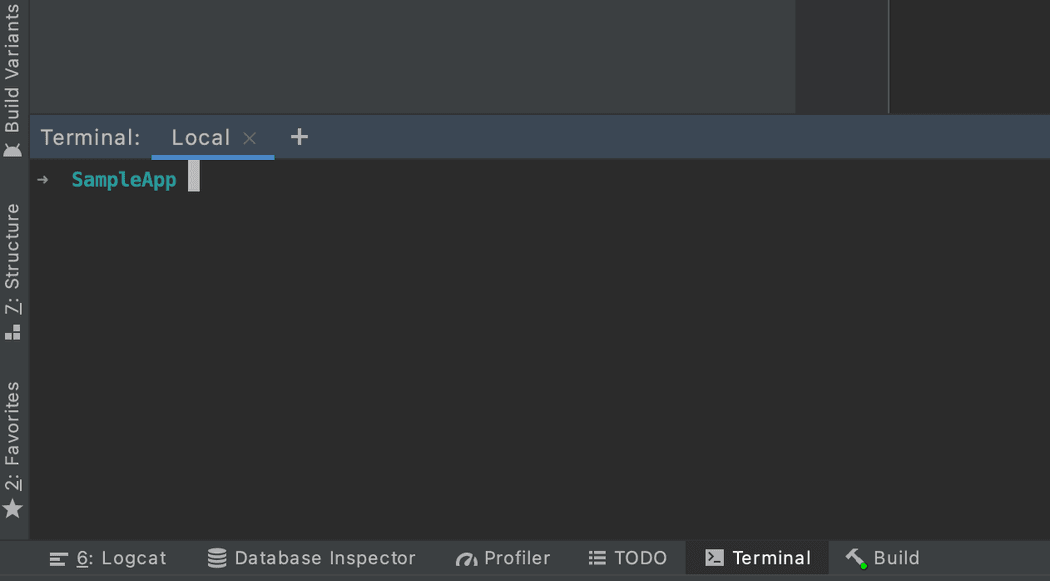
Android Studio provides one terminal. If you open any project in Android Studio, you can click on the Terminal tab at the bottom of it to open the terminal .
Now, you can run your git commands in this terminal.
- Iniitialize a project:
git init
- Add origin:
git remote add origin <origin-url>
- Commit:
git add *git commit -m 'First commit'
- Push:
git push origin master
Android Studio VCS:
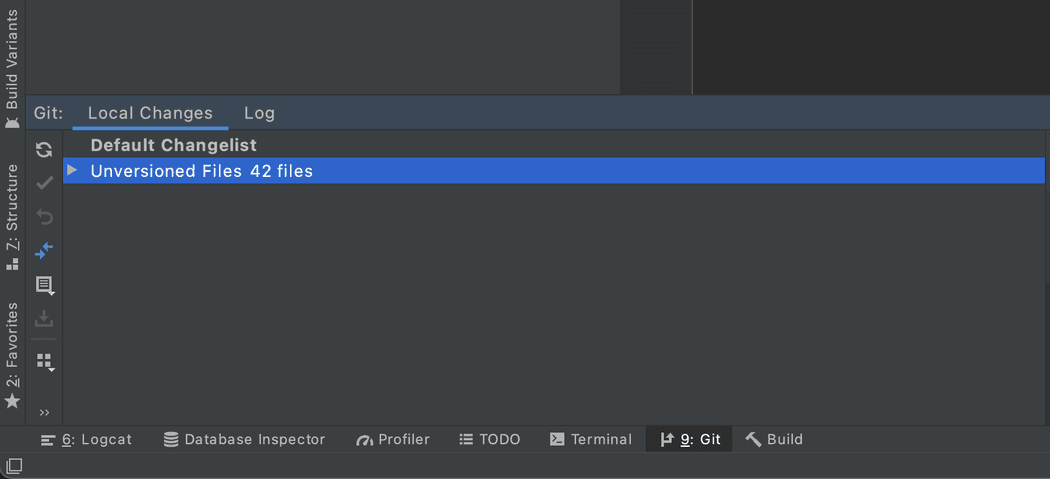
Android Studio provides GUI for performing all git tasks. From the menu, you can click on vcs to check all operations or you can click on the Git button from the bottom menu.
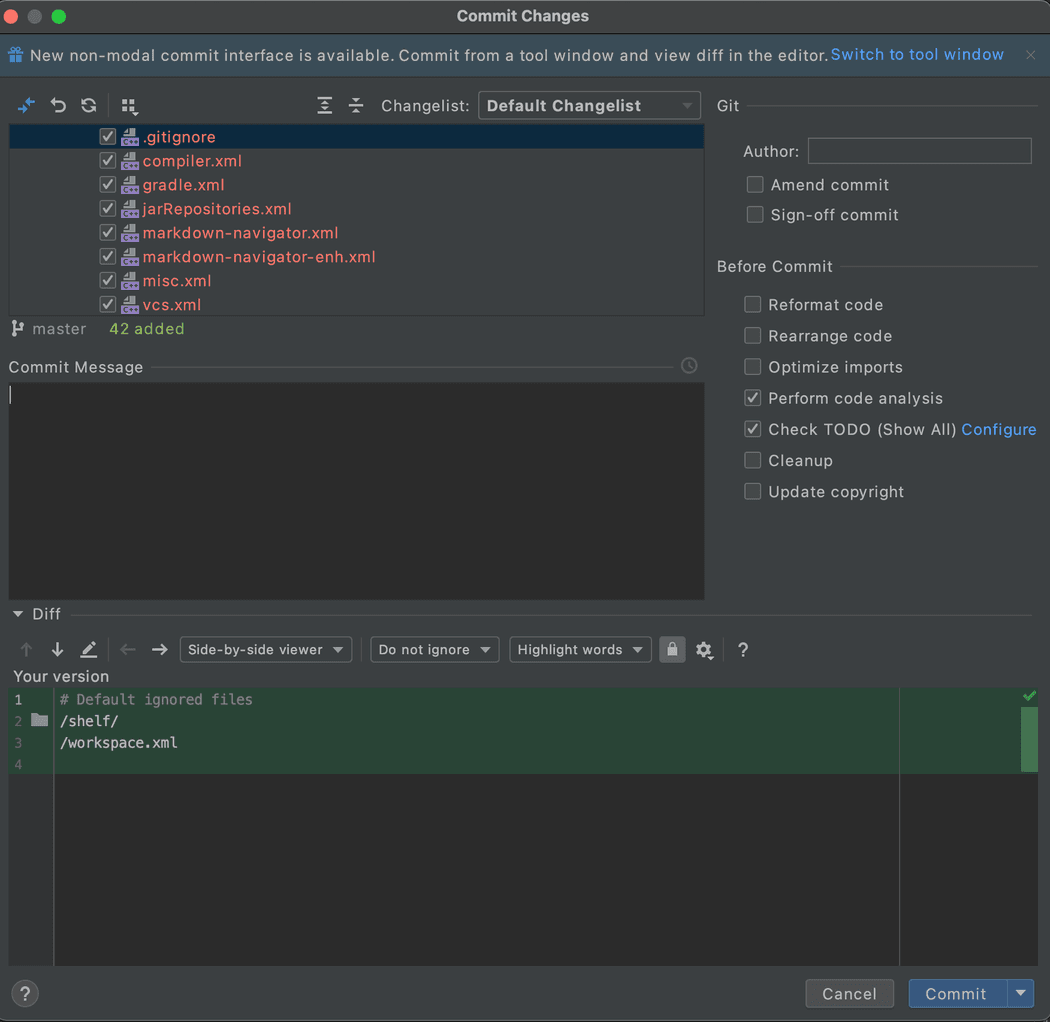
If you right click on the Unversion files, it will show different Git options. If you click on commit files, it will show you list of all files with the differences:
You can write a commit message and commit it from this window.
Before commit operations:
We can perform different operations before doing any commit. For example, we can reformat the code, rearrange the code, check for any TODO etc. as you can see on top right side in the above image.
It will not do commit or any other operations if any of these operations fails.
Push/pull:
For push/pull operations, you can go to vcs -> Git and select these from the menu. Similarly you can do clone, rebase etc. from this menu.


