How to delete item from RecyclerView in Android(Kotlin)
How to add delete item feature in RecyclerView:
In this post, we will learn how to add a delete button to RecyclerView items and how to remove that item from the RecyclerView on clicking the button.
Basic project setup:
We will follow the same project discussed in our previous tutorial.
YouTube video:
The content of the post is also available on YouTube:
Please subscribe to my channel if you love the video.
Step 2: Update the list item layout:
We are using res/layout/list_item.xml as the layout file to show the list item. Let's update this file with the delete button:
<?xml version="1.0" encoding="utf-8"?><androidx.cardview.widget.CardView android:layout_height="wrap_content"android:layout_width="match_parent"xmlns:android="http://schemas.android.com/apk/res/android"xmlns:app="http://schemas.android.com/apk/res-auto"app:cardCornerRadius="8dp"app:cardElevation="8dp"android:layout_margin="5dp"><androidx.constraintlayout.widget.ConstraintLayoutandroid:layout_width="match_parent"android:layout_height="wrap_content"><ImageViewandroid:id="@+id/imageView"android:layout_width="0dp"android:layout_height="0dp"app:layout_constraintWidth_percent=".3"app:layout_constraintDimensionRatio="1:1"app:layout_constraintBottom_toBottomOf="parent"app:layout_constraintTop_toTopOf="parent"app:layout_constraintLeft_toLeftOf="parent"android:src="@drawable/ic_launcher_background"/><TextViewandroid:id="@+id/tvTitle"android:layout_width="0dp"android:layout_height="wrap_content"app:layout_constraintStart_toEndOf="@+id/imageView"app:layout_constraintEnd_toStartOf="@id/button"app:layout_constraintTop_toTopOf="parent"android:textSize="25sp"android:fontFamily="sans-serif"android:textColor="#212121"android:layout_marginStart="10dp"android:text="This is a very long title and here it is"android:layout_marginLeft="10dp" /><Buttonandroid:id="@+id/button"android:layout_width="0dp"android:layout_height="0dp"android:layout_marginTop="5dp"android:layout_marginEnd="5dp"app:layout_constraintEnd_toEndOf="parent"app:layout_constraintTop_toTopOf="parent"android:background="@drawable/ic_baseline_delete_24"app:layout_constraintWidth_percent=".08"app:layout_constraintDimensionRatio="1:1"android:layout_marginRight="5dp" /><TextViewandroid:id="@+id/tvDescription"android:layout_width="0dp"android:layout_height="wrap_content"app:layout_constraintStart_toStartOf="@+id/tvTitle"app:layout_constraintEnd_toEndOf="parent"app:layout_constraintTop_toBottomOf="@+id/tvTitle"app:layout_constraintBottom_toBottomOf="parent"android:textSize="18sp"android:fontFamily="sans-serif"android:text="This is a very long title and here it is"/></androidx.constraintlayout.widget.ConstraintLayout></androidx.cardview.widget.CardView>
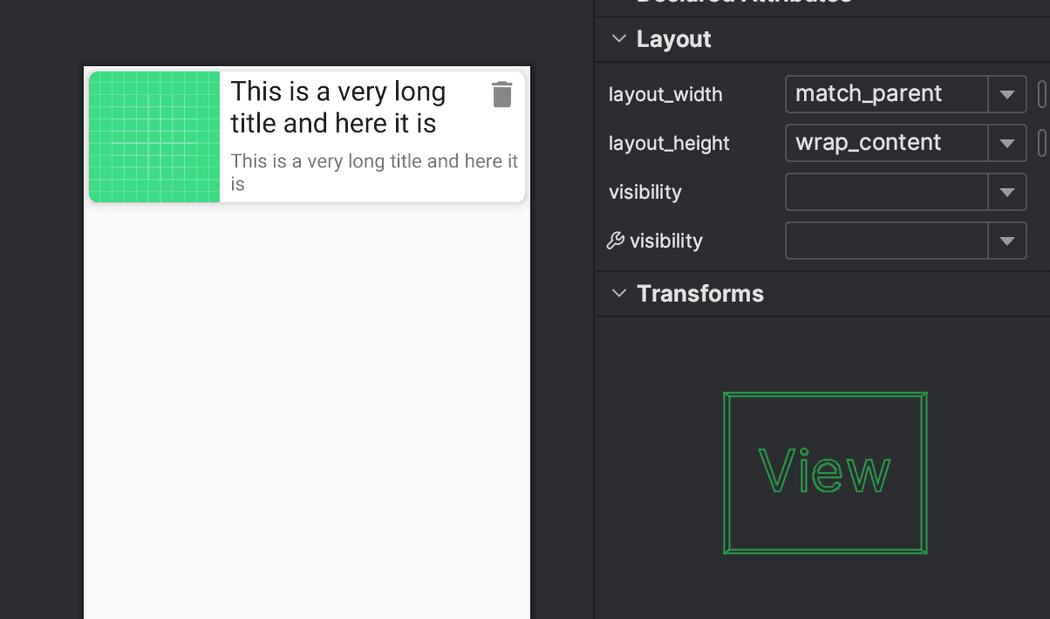
We added one Button with the TextView. It will look as below:
Changes to the Adapter:
We will make a few changes to the adapter class. Update the MyAdapter.kt file as below:
import android.view.LayoutInflaterimport android.view.Viewimport android.view.ViewGroupimport android.widget.Buttonimport android.widget.ImageViewimport android.widget.TextViewimport androidx.recyclerview.widget.RecyclerViewimport com.bumptech.glide.Glideimport com.example.myapplication.models.Propertyimport org.w3c.dom.Textclass MyAdapter(private val data: List<Property>) : RecyclerView.Adapter<MyAdapter.MyViewHolder>() {private var listData: MutableList<Property> = data as MutableList<Property>inner class MyViewHolder(val view: View): RecyclerView.ViewHolder(view){fun bind(property: Property, index: Int){val title = view.findViewById<TextView>(R.id.tvTitle)val imageView = view.findViewById<ImageView>(R.id.imageView)val description = view.findViewById<TextView>(R.id.tvDescription)val button = view.findViewById<Button>(R.id.button)title.text = property.titledescription.text = property.descriptionGlide.with(view.context).load(property.image).centerCrop().into(imageView)button.setOnClickListener{deleteItem(index)}}}override fun onCreateViewHolder(parent: ViewGroup, viewType: Int): MyViewHolder {val v = LayoutInflater.from(parent.context).inflate(R.layout.list_item, parent, false)return MyViewHolder(v)}override fun getItemCount(): Int {return listData.size}override fun onBindViewHolder(holder: MyViewHolder, position: Int) {holder.bind(listData[position], position)}fun deleteItem(index: Int){listData.removeAt(index)notifyDataSetChanged()}}
- Added one method to delete the item, deleteItem.
- On clicking the delete button, it will call the deleteItem function and remove the item from the data list.
Changes to the MainActivity.kt file:
We need to change the MainActivity as below:
import androidx.appcompat.app.AppCompatActivityimport android.os.Bundleimport androidx.recyclerview.widget.LinearLayoutManagerimport androidx.recyclerview.widget.RecyclerViewimport com.example.myapplication.models.Propertyimport com.example.myapplication.network.Apiimport retrofit2.Callimport retrofit2.Callbackimport retrofit2.Responseclass MainActivity : AppCompatActivity() {lateinit var data: MutableList<Property>private lateinit var recyclerView: RecyclerViewprivate lateinit var manager: RecyclerView.LayoutManagerprivate lateinit var myAdapter: MyAdapteroverride fun onCreate(savedInstanceState: Bundle?) {super.onCreate(savedInstanceState)setContentView(R.layout.activity_main)manager = LinearLayoutManager(this)getAllData()}fun getAllData(){Api.retrofitService.getAllData().enqueue(object: Callback<List<Property>>{override fun onResponse(call: Call<List<Property>>,response: Response<List<Property>>) {if(response.isSuccessful){recyclerView = findViewById<RecyclerView>(R.id.recycler_view).apply{data = response.body() as MutableList<Property>myAdapter = MyAdapter(data)layoutManager = manageradapter = myAdapter}}}override fun onFailure(call: Call<List<Property>>, t: Throwable) {t.printStackTrace()}})}}
It will fetch the data and initialize the adapter.
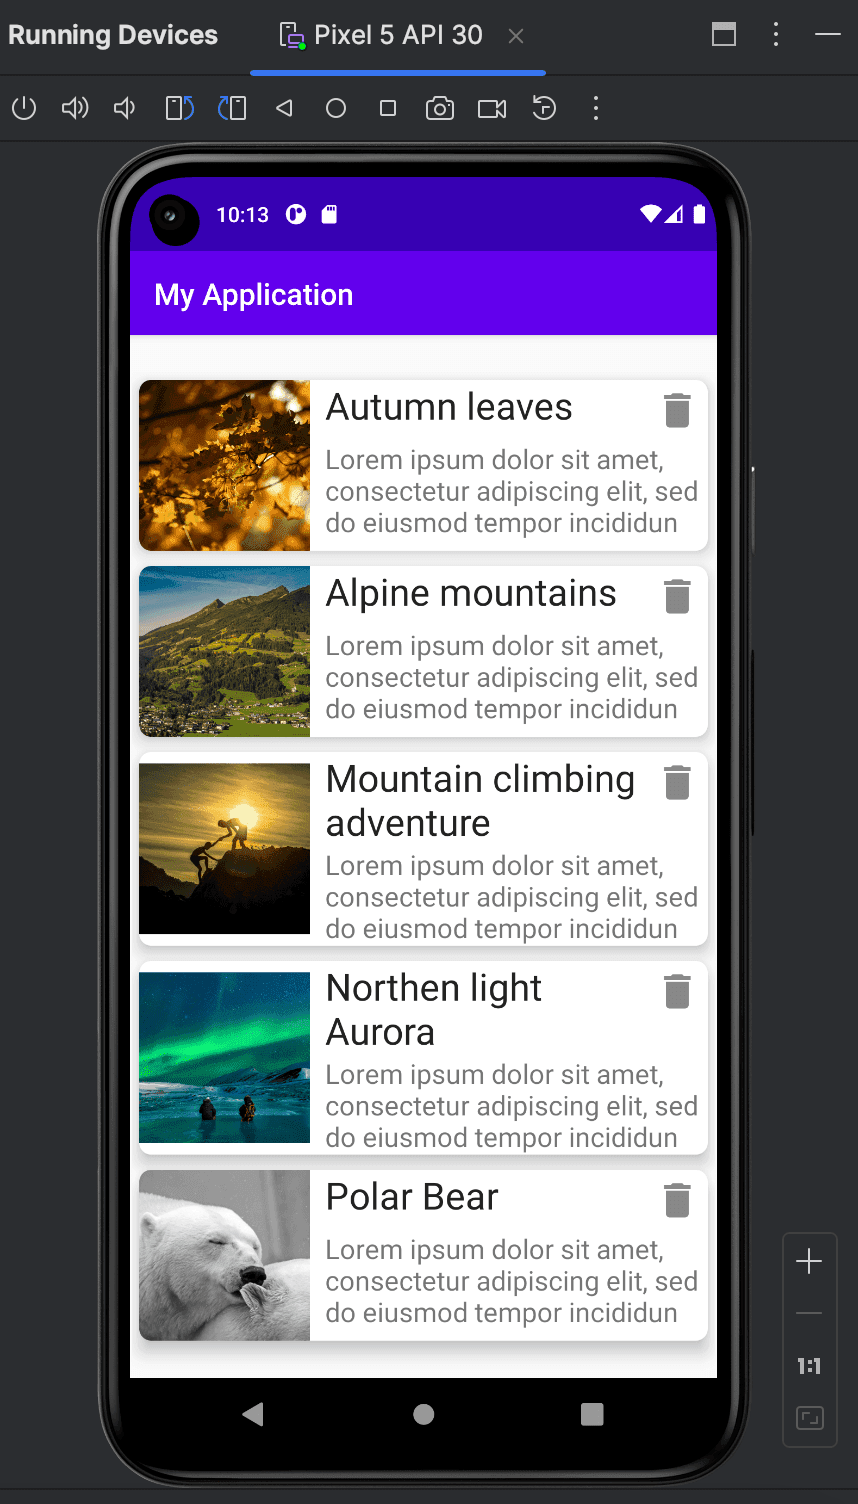
If you run this application, it will show a delete button with each item on the list. On clicking the delete button, it will remove that item from the RecyclerView list.
Github:
The code is available on Github. Please use the tut-delete tag to get the code explained on this tutorial.
git clone https://github.com/AppDevAssist/recyclerview-kotlin && git checkout tags/tut-delete


