How to add fragments dynamically in Android(Kotlin)
How to add fragments dynamically in Android(Kotlin):
In this post, we will learn how to add fragments dynamically in Android using Kotlin. In our last post, we learned how to add fragments in xml files. This post will show you how to add fragments dynamically.
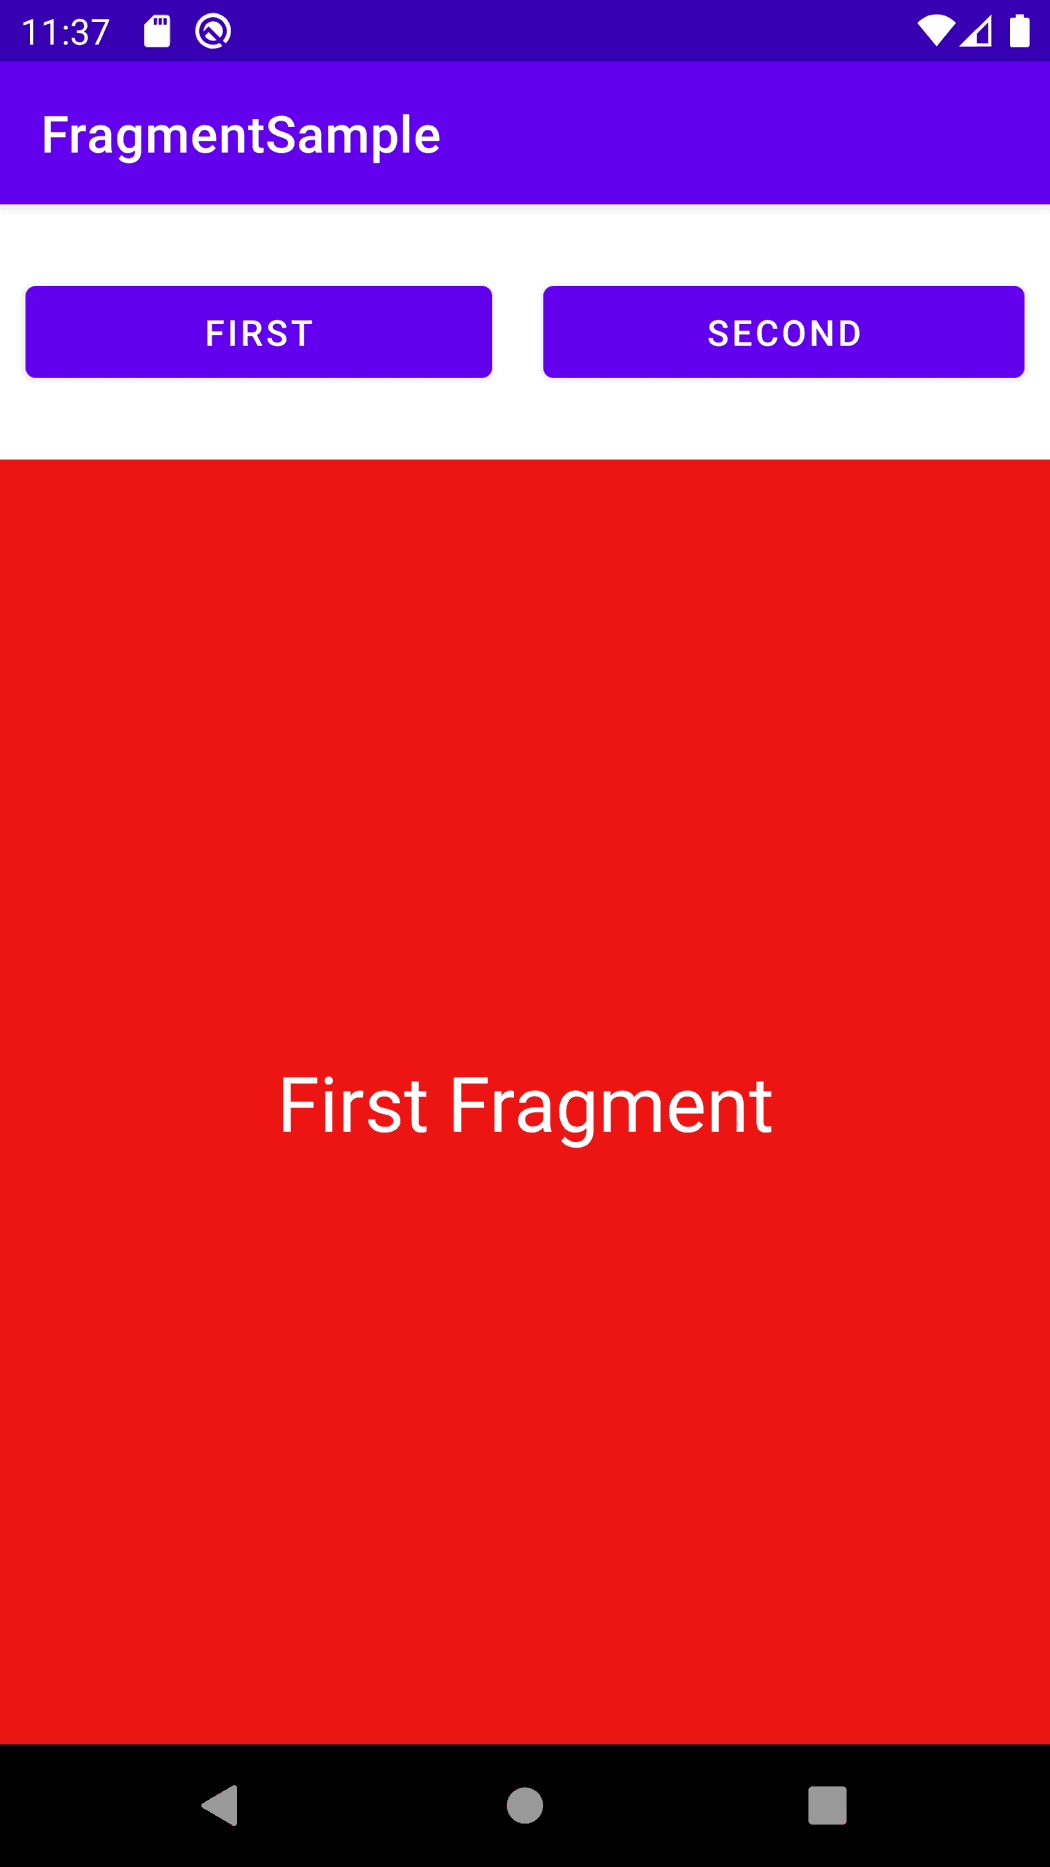
We will create one simple application with one screen and two buttons on top and one fragment on bottom. It will replace the fragment on clicking the buttons.
YouTube video:
Key terms:
Following are the key-terms we will use:
- FragmentManager: Activity must derived from FragmentActivity. We need one FragmentManager to handle the fragment transactions. We can use the getSupportFragmentManager() method to get a fragment manager.
- FragmentTransaction.add(): This method is used to add a fragment to the activity.
- addToBackStack(): This method is used to add a transaction to the back stack.
- commit(): This method is used to schedule the processing of the transaction. It is committed once the main thread is ready next time.
Android Studio project:
First of all,create one android studio project with only one activity MainActivity.kt with one xml file activity_main.xml.
activity_main.xml:
<?xml version="1.0" encoding="utf-8"?><androidx.constraintlayout.widget.ConstraintLayout xmlns:android="http://schemas.android.com/apk/res/android"xmlns:app="http://schemas.android.com/apk/res-auto"xmlns:tools="http://schemas.android.com/tools"android:layout_width="match_parent"android:layout_height="match_parent"tools:context=".MainActivity"><LinearLayoutandroid:layout_width="match_parent"android:layout_height="wrap_content"android:orientation="horizontal"app:layout_constraintBottom_toTopOf="@+id/frameLayout"app:layout_constraintEnd_toEndOf="parent"app:layout_constraintStart_toStartOf="parent"app:layout_constraintTop_toTopOf="parent"><Buttonandroid:id="@+id/firstButton"android:layout_width="wrap_content"android:layout_height="wrap_content"android:layout_margin="10dp"android:layout_weight="1"android:onClick="onClickFirst"android:text="First" /><Buttonandroid:id="@+id/button2"android:layout_width="wrap_content"android:layout_height="wrap_content"android:layout_margin="10dp"android:layout_weight="1"android:onClick="onClickSecond"android:text="Second" /></LinearLayout><FrameLayoutandroid:id="@+id/frameLayout"android:layout_width="match_parent"android:layout_height="match_parent"android:layout_marginTop="100dp"app:layout_constraintBottom_toBottomOf="parent"app:layout_constraintEnd_toEndOf="parent"app:layout_constraintStart_toStartOf="parent"app:layout_constraintTop_toTopOf="parent"></FrameLayout></androidx.constraintlayout.widget.ConstraintLayout>
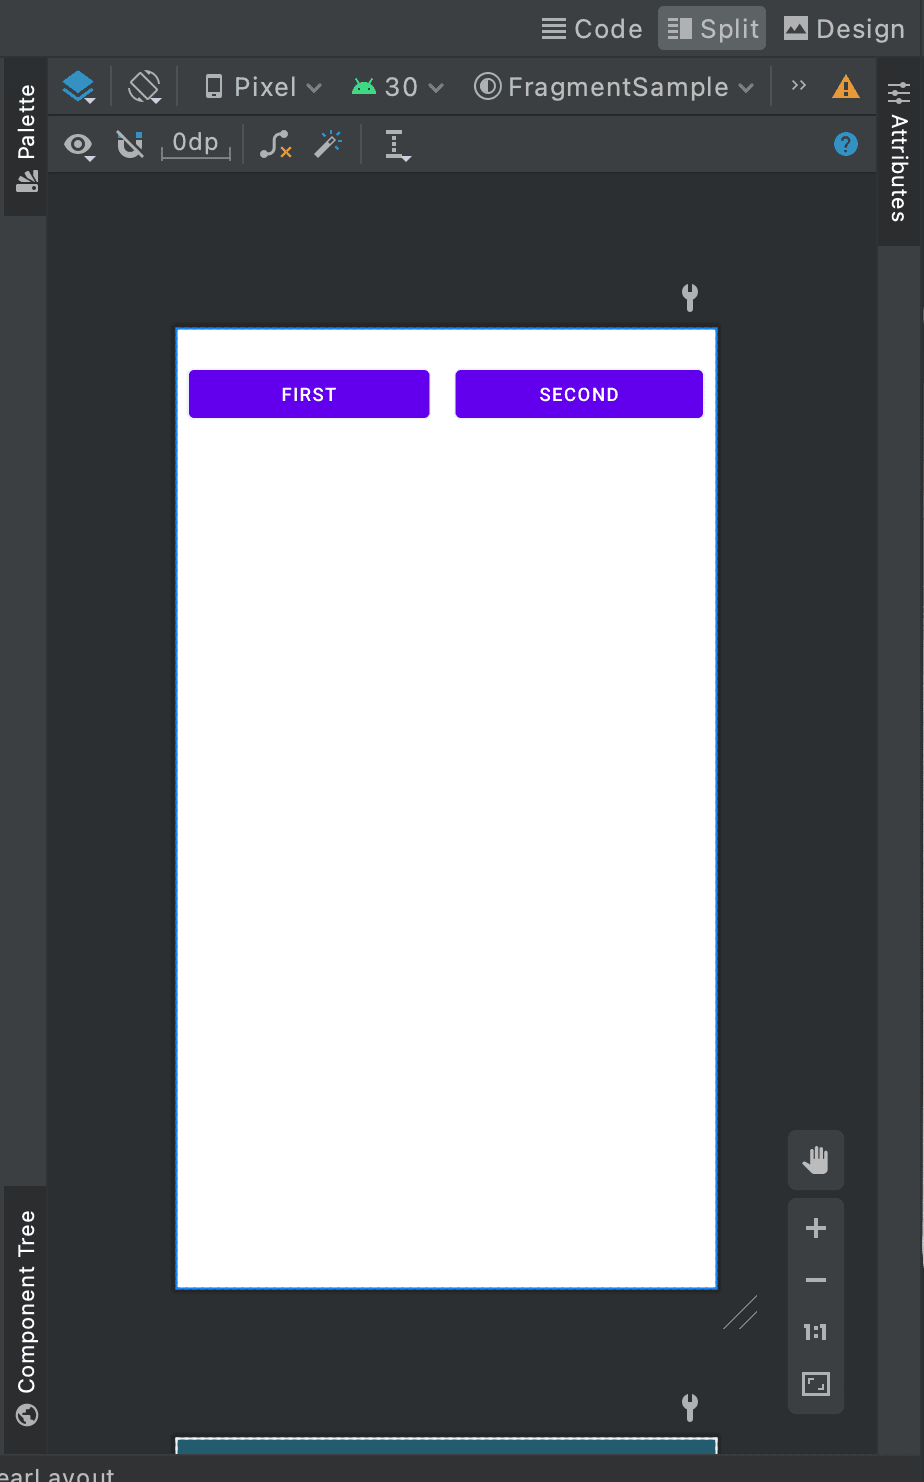
This layout has two buttons with one FrameLayout at bottom:
MainActivity.kt:
import androidx.appcompat.app.AppCompatActivityimport android.os.Bundleimport android.view.Viewclass MainActivity : AppCompatActivity() {private val fragmentManager = supportFragmentManageroverride fun onCreate(savedInstanceState: Bundle?) {super.onCreate(savedInstanceState)setContentView(R.layout.activity_main)}fun onClickFirst(view: View) {val fragmentTransaction = fragmentManager.beginTransaction()fragmentTransaction.add(R.id.frameLayout, FirstFragment())fragmentTransaction.addToBackStack(null)fragmentTransaction.commit()}fun onClickSecond(view: View) {val fragmentTransaction = fragmentManager.beginTransaction()fragmentTransaction.add(R.id.frameLayout, SecondFragment())fragmentTransaction.addToBackStack(null)fragmentTransaction.commit()}}
onClickFirst is called if we click on the first button. This method is adding the FirstFragment to the framelayout. onClickSecond is called if we click on the second button. This method adds SecondFragment to the framelayout.
We have two more fragments. FirstFragment and SecondFragments. These fragments are added to the framelayout dynamically.
FirstFragment.kt:
This is the first fragment. It shows only one text to the fragment. Following are the code and xml files of this fragment:
import android.os.Bundleimport androidx.fragment.app.Fragmentimport android.view.LayoutInflaterimport android.view.Viewimport android.view.ViewGroupclass FirstFragment : Fragment() {override fun onCreateView(inflater: LayoutInflater, container: ViewGroup?,savedInstanceState: Bundle?): View? {// Inflate the layout for this fragmentreturn inflater.inflate(R.layout.fragment_first, container, false)}}
and xml file:
<?xml version="1.0" encoding="utf-8"?><FrameLayout xmlns:android="http://schemas.android.com/apk/res/android"xmlns:tools="http://schemas.android.com/tools"android:layout_width="match_parent"android:layout_height="match_parent"android:background="#ED1414"tools:context=".FirstFragment"><TextViewandroid:layout_width="match_parent"android:layout_height="match_parent"android:gravity="center"android:textSize="30sp"android:textColor="@color/white"android:text="First Fragment" /></FrameLayout>
SecondFragment.kt:
Below are the kotlin and xml files:
import android.os.Bundleimport androidx.fragment.app.Fragmentimport android.view.LayoutInflaterimport android.view.Viewimport android.view.ViewGroupclass SecondFragment : Fragment() {override fun onCreateView(inflater: LayoutInflater, container: ViewGroup?,savedInstanceState: Bundle?): View? {// Inflate the layout for this fragmentreturn inflater.inflate(R.layout.fragment_second, container, false)}}
and xml file:
<?xml version="1.0" encoding="utf-8"?><FrameLayout xmlns:android="http://schemas.android.com/apk/res/android"xmlns:tools="http://schemas.android.com/tools"android:layout_width="match_parent"android:layout_height="match_parent"android:background="#142AED"tools:context=".FirstFragment"><TextViewandroid:layout_width="match_parent"android:layout_height="match_parent"android:gravity="center"android:textSize="30sp"android:textColor="@color/white"android:text="Second Fragment" /></FrameLayout>
Output:
It will give one output as like below:

Clicking on the buttons will replace the fragments in the framelayout.

