Close
Close full mode
logoAppDevAssist

How to create RadioGroup and RadioButtons in Android

How to create RadioGroup and RadioButtons in Android:

RadioGroup and RadioButtons are important widgets in Android. We can use it to take a selection from the user. In this post, I will show you how to use RadioGroup and RadioButton in Android with an example.

This project will use Kotlin but you can also use Java, the xml will be same for both.

YouTube Video:

I have published one video on YouTube explaining how RadioGroup and RadioButton can be used in an Android studio project. You can watch it here:

Android Studio Project:

Let's start it with a basic Android Studio project. Start your Android Studio and create one project with an empty activity.
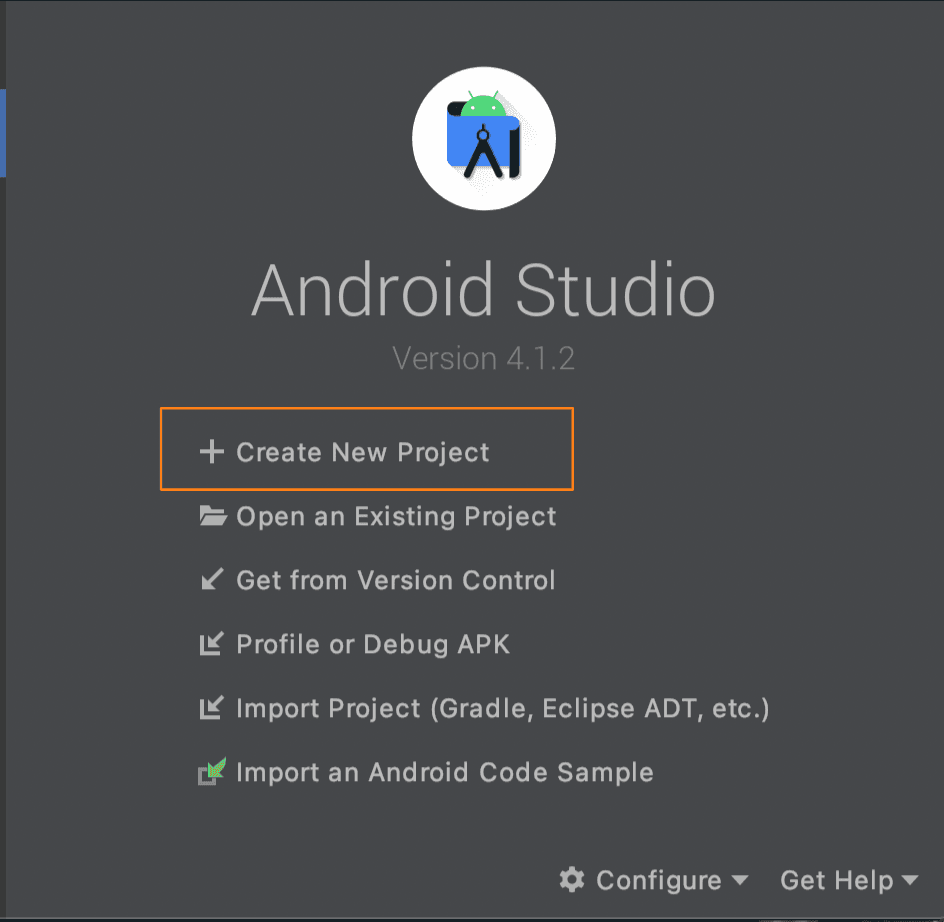
Android Studio with empty activity project creation

Give one name, package name, save location, language and Minimum SDK and create the project.

MainActivity is the only activity for this project and activity_main.xml is the xml file for this activity.

Adding RadioGroup and RadioButton:

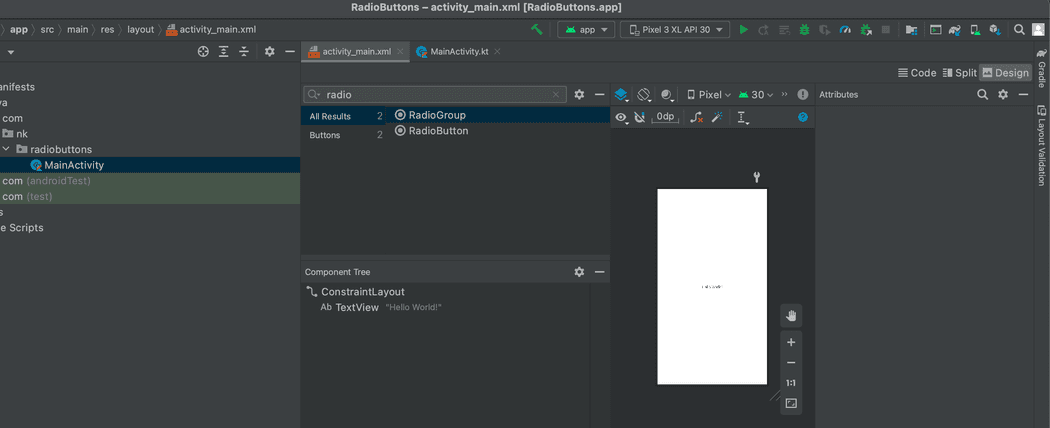
Open your activity_main.xml in design mode and search for radio in the search box provided for all widgets.

Android Radio search

We need to put RadioButtons inside a RadioGroup. You can drag and drop these to the Component tree for that.

  • Right click on the Constraint layout, click on convert view and change it to Framelayout.
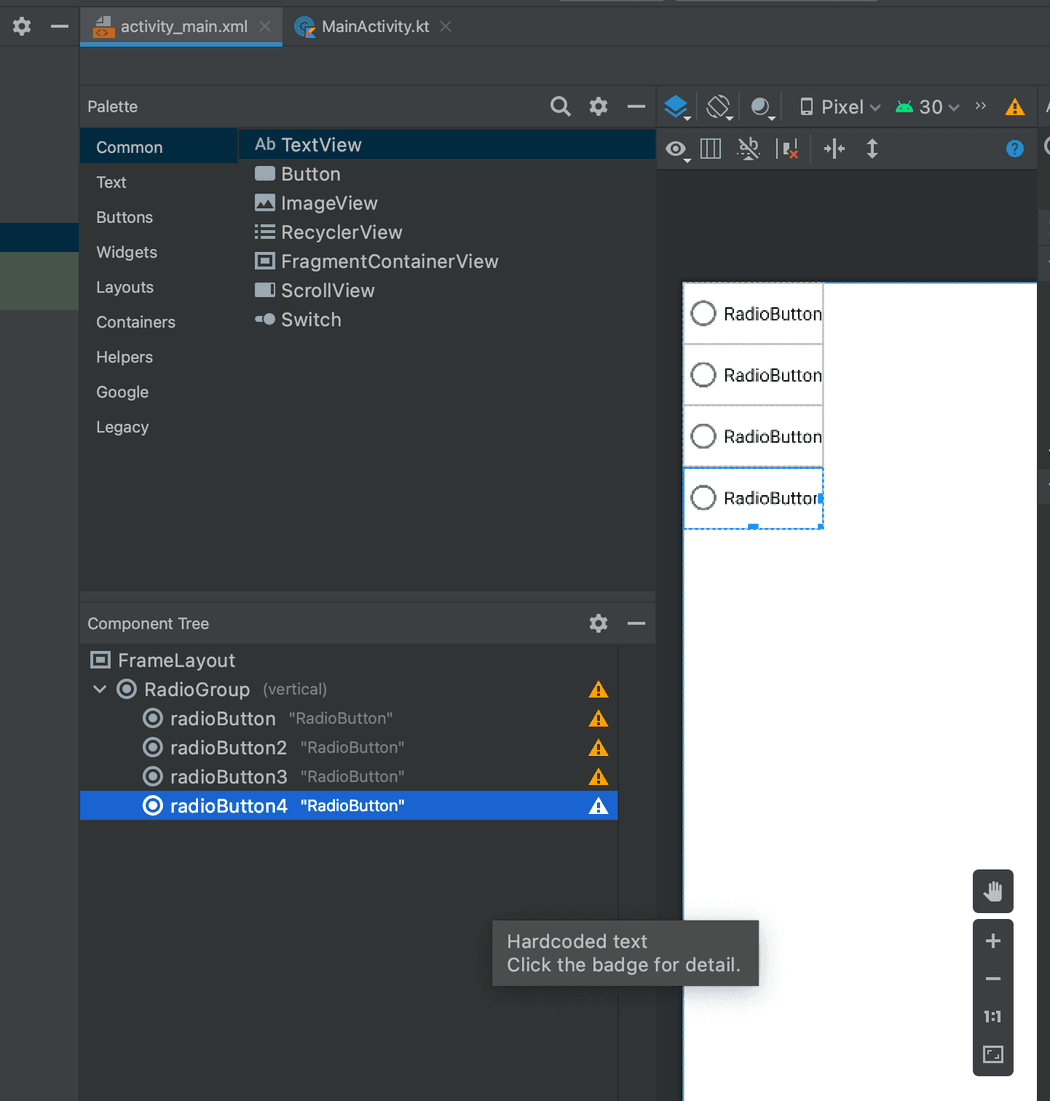
  • Drag one RadioGroup inside this layout and multiple radio buttons inside the group. It will look as like below:

Radio group and buttons

If you move to code view, it will look as like below:

<?xml version="1.0" encoding="utf-8"?>
<FrameLayout xmlns:android="http://schemas.android.com/apk/res/android"
xmlns:app="http://schemas.android.com/apk/res-auto"
xmlns:tools="http://schemas.android.com/tools"
android:layout_width="match_parent"
android:layout_height="match_parent"
tools:context=".MainActivity">
<RadioGroup
android:layout_width="wrap_content"
android:layout_height="wrap_content" >
<RadioButton
android:id="@+id/radioButton"
android:layout_width="match_parent"
android:layout_height="wrap_content"
android:text="RadioButton" />
<RadioButton
android:id="@+id/radioButton2"
android:layout_width="match_parent"
android:layout_height="wrap_content"
android:text="RadioButton" />
<RadioButton
android:id="@+id/radioButton3"
android:layout_width="match_parent"
android:layout_height="wrap_content"
android:text="RadioButton" />
<RadioButton
android:id="@+id/radioButton4"
android:layout_width="match_parent"
android:layout_height="wrap_content"
android:text="RadioButton" />
</RadioGroup>
</FrameLayout>

How to add a click listener for radio buttons:

We can easily add click listeners for radio buttons in Android. It is similar to adding click listeners for other widgets like buttons.

For each RadioButton, add one click listener as like below:

<RadioButton
android:id="@+id/radioButton4"
android:layout_width="match_parent"
android:layout_height="wrap_content"
android:onClick="onClickRadioButton"
android:text="RadioButton" />

inside your MainActivity.kt file, add the onClickRadioButton method:

import androidx.appcompat.app.AppCompatActivity
import android.os.Bundle
import android.view.View
class MainActivity : AppCompatActivity() {
override fun onCreate(savedInstanceState: Bundle?) {
super.onCreate(savedInstanceState)
setContentView(R.layout.activity_main)
}
fun onClickRadioButton(view: View) {}
}

If you run the app now, it will show you all these radio buttons and only one will be clickable at one time.

We can detect which one is clicked by tracking its id in the onClickRadioButton method as like below:

import androidx.appcompat.app.AppCompatActivity
import android.os.Bundle
import android.view.View
import android.widget.RadioButton
import android.widget.Toast
class MainActivity : AppCompatActivity() {
override fun onCreate(savedInstanceState: Bundle?) {
super.onCreate(savedInstanceState)
setContentView(R.layout.activity_main)
}
fun showToast(msg: String) {
Toast.makeText(this, "$msg is clicked", Toast.LENGTH_LONG).show()
}
fun onClickRadioButton(view: View) {
if (view is RadioButton) {
when (view.id) {
R.id.radioButton ->
if (view.isChecked) {
showToast("Button 1")
}
R.id.radioButton2 ->
if (view.isChecked) {
showToast("Button 2")
}
R.id.radioButton3 ->
if (view.isChecked) {
showToast("Button 3")
}
R.id.radioButton4 ->
if (view.isChecked) {
showToast("Button 4")
}
}
}
}
}

We are using a when block which is checking its id and isChecked to detect if a button is checked or not.

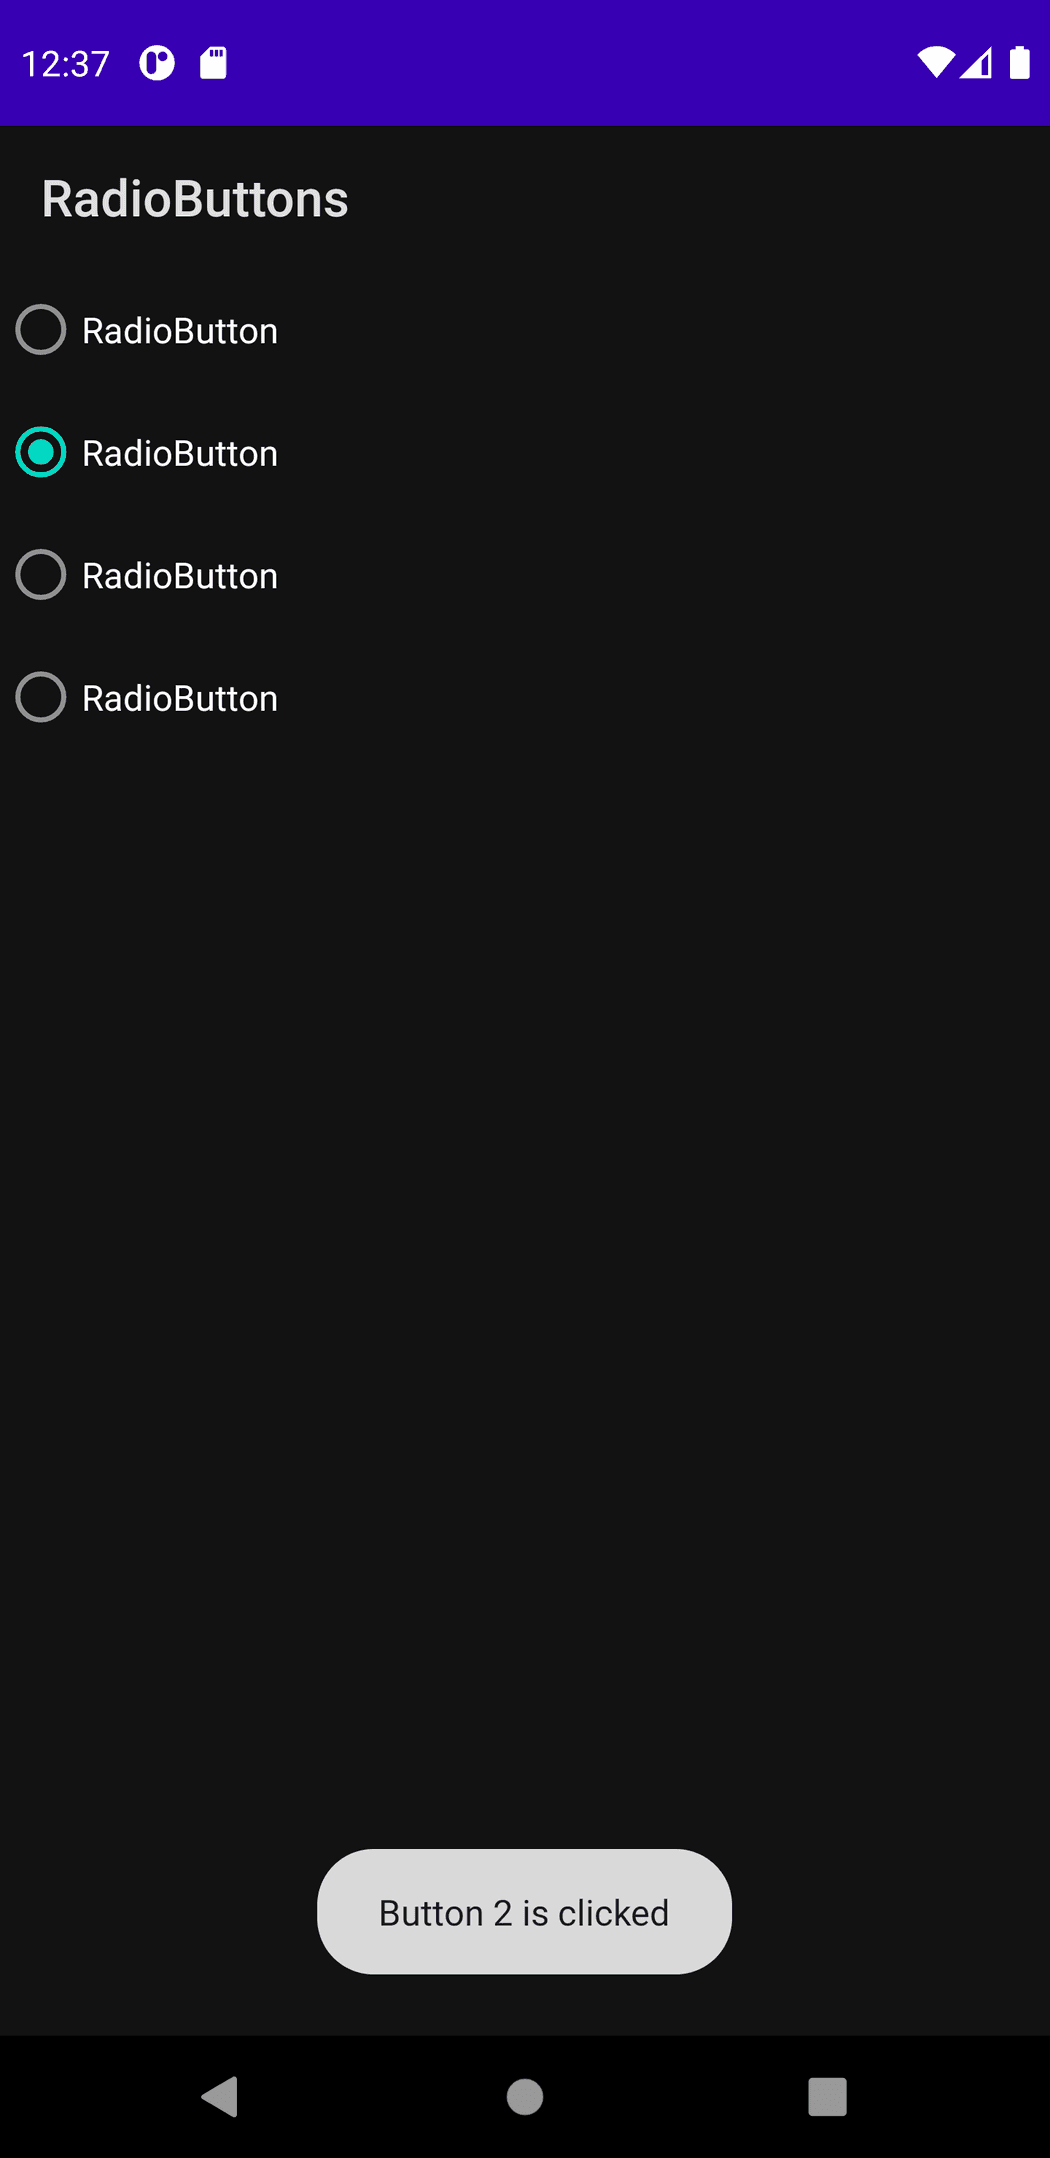
If you run this app now and click on any radio button, it will show one toast with a message for that button.

Radio button clicked

Subscribe to our Newsletter

Previous
How to create a Floating Action Button in Android using Kotlin
Next
How to combine TabLayout with ViewPager2 and NavGraph in Android